


Art Lesson for Project Work/アートレッスン紹介
Here is an introduction to lessons at CGK Afterschool.
CGKアフタースクールでのレッスンについて紹介いたします。
CGK's eight-week-long project works will be based on the main “Driving Question”.
Here are the Driving Questions for this "Art" lesson.
CGKの8週間に渡って行うプロジェクト活動では、メインとなる「ドライビングクエスチョン」に基づいて学んでいきます。
今回の「アート」レッスンでのドライビングクエスチョンはこちらです。
"How can we design our tiny house that meets the needs of our clients?"
「クライアントの要望を満たすにはどのようなTiny Houseをデザインしたら良いのか?」
We followed this question with fun lessons each week that drew the student's interest.
Here are the comments of Mr. Dan, the teacher who was in charge of the lessons.
この問いに沿って、毎週子供たちの興味を引き出す楽しいレッスンを行いました。
担当していたDan先生のコメントをつけてご紹介します。
Week 1
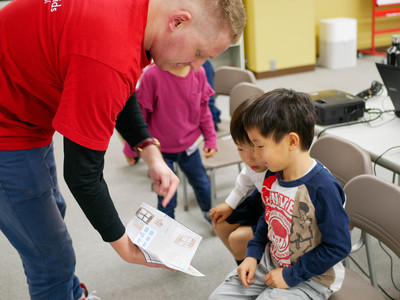
Firstly, students were show Mr Dan`s example of a completed tiny house made from paper. Students got to look at and discuss the choices Mr Dan had made relating to the inside, outside, and location he desired for his tiny house.
Mr Dan also explained some of the mistakes he has made and introduced the importance of planning and space management that students will need to consider when they come to make a tiny house of their own.
Students were then introduced to the tiny house movement through a power point presentation and a small video segment showing various types of tiny houses. Students looked at the various pictures and had a general discussion about each one asking questions, thinking of things they would like to know more about, saying what they see, and giving their opinions. The student’s thoughts were brainstormed on to a large chart during this discussion.
After the discussion and brainstorming was concluded students then had to create a drawing and write down key information of their dream tiny house. They could choose to focus on the inside, outside, location, or all three aspects if they wanted to. At this point students are just being introduced to the idea of tiny houses and space management so the houses they create could have amusing and impractical features. The task was designed to get them interested in the topic and spark some initial thinking surrounding the topic.
At the end of the 8 week project we will compare their initial ideas to what they have managed to create over the 8 week period.
はじめに、Dan先生が紙で作った「Tiny House」小さな家を見せてもらいました。子供たちは、Dan先生が小さな家について、家の内側、外側、そしてどこに小さな家を建てるかなどどんなことを考えて選択していたのかを話し合いました。
また、Dan先生は自分がしてしまった失敗を教えてくれました。そこから、子供たちは計画の大切さや自分たちが製作するときに気をつけなければならないスペース管理についても学ぶことができました。
その後、スライドや動画を見ながらさまざまなTiny Houseについて見せてもらいました。さまざまな種類のTiny Houseの写真を見て、質問をしたり、もっと知りたいことについて考えたり、気がついたことや意見を言ったりしながら話し合いをしました。子供たちが考えて話し合ったことは、ブレインストーミングをしてチャートにまとめました。
ディスカッションとブレインストーミングが終わったあと、子供たちは自分のTiny Houseのために絵を描いたり、重要な情報を書き留めたりしました。家の内側、外側、建てる場所など、どんなことでも構いません。この時点では、まだTiny Houseについて基本的なことしか学んでいないので、非現実的な部分があるかもしれませんが、まだ子供たちの興味を引き出し、自由に考えることが目的なので、子供たちの可能性を楽しみました。
8週間後のプロジェクトでは、この初期のアイディアと完成品を比べます。
Week 2
For week two students reviewed their work form last week and discussed anything relating to it that they wanted to add or clarify. We then looked at the relationship between house prices and wages over the course of the last 50 years and how this has impacted on people’s ability to afford a home for themselves. We looked at some graphs from the UK and America showing this correlation and used the example of Mr Dan`s grandparents who bought a house for little money and then 30 years later sold it for a lot and the implications this has had on the housing market. Students then discussed the meanings of various pros and cons cards relating to the tiny house movement and we clarified meaning. Students then had to race against the clock to put these cards onto the whiteboard in the pro or con category using magnets. We reviewed the result as a class and the students through working together had managed to not make a single mistake! Next the time limit was drastically reduced and the students had to work really quickly to repeat the task and again made zero errors! Now that students were confident in the terminology we used the cards to create a giant class poster working as a team. Initially there were some disagreements between students on the direction to take the poster but through encouragement to compromise, listen to each other’s opinions, and make majority decisions the students were able to work together to produce a really good pros and cons poster.
At the end of the day students were informed of `the client’s requirements` to think about going forward. This is a list of things that the students must include in their houses.
第2週目は、先週のワークフォームの復習を行い、それに関連して追加したい点や明確にしたい点を話し合いました。次に、過去50年間の住宅価格と賃金の関係を調べ、それが人々の住宅購入能力にどのような影響を与えているかを調べました。この相関関係を示すイギリスとアメリカのグラフを見て、Dan先生の祖父母が少額で家を購入し、30年後に高額で売却したことと、このことが住宅市場に与えた影響を例に挙げました。
その後、子供たちはTiny Houseについて長所と短所を考えカードにまとめました。そのカードを使ってカテゴライズゲームをすると、子供たちはミスすることなくきちんと理解できていました。
そしてこのカードをポスターにまとめました。製作中、意見がぶつかるときもありましたが、子供たちは協力して素晴らしいポスターを仕上げました。
最後に、「クライアント」の要望を教えてもらい、これらの条件を満たす家造りの準備に入りました。

Week 3
For week three we made a Christmas craft during the learning centers as Mr Dan was working at the preschool Christmas week. Students made a reindeer using a balloon that we could then race on some strings across the classroom as the air expelled.
For project time students reviewed `the clients requirements` and learned about the terms `area, perimeter, and draft`. Students made a draft floor plan for their tiny house listing the area and perimeter of the items they are planning to include in their house. When finished students began working on the final design of their floor plan and thinking about the design of the exterior.
今週は、「クライアント」の要望を再確認し、「面積」「周囲」「ドラフト」という用語について学びました。子供たちは、自分たちのTiny Houseに入れる予定のアイテムの面積と周囲をリストにした間取り図の下書きをしました。それが終わると、最終デザインの製作に入り、外観のデザインについても考え始めました。
Week 4
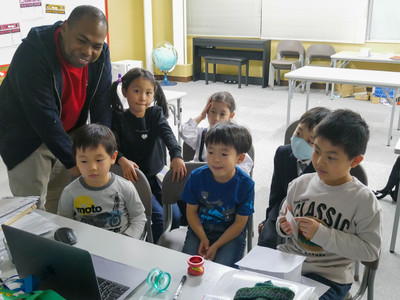
During learning centers students got the chance to talk via zoom to one of Mr Bobby`s friends in America who is currently building their own tiny house. They had prepared questions to ask and had a good discussion about the process of building a tiny house and the reasons for the decision to build one. The video of the conversation they had is available to view. Students managed to ask a lot of interesting questions and did CGK proud with their attention and manners.
During project time students continued making their tiny house and started to create 3D furniture.
この週は、Learning Centersの時間も使って活動しました。初めに、Bobby先生のお友達で現在Tiny Houseを建てている方にZoomでインタビューすることができました。子供たちは質問を用意して、Tiny Houseを建てる過程や建てることになった理由などについてお話することができました。子供たちは興味深い質問をたくさんしてくれるだけでなく、マナーの良さでCGKの誇りとなってくれました。
その後、Project Workの時間には、実際にTiny Houseづくりに入り、3D家具を作り始めました。

Week 5
Because the students were on vacation for a week due to the end of the year we reviewed what we had learned from the conversation with Mr Bobby`s friends and refreshed our memories of what we had learned so far and what we had left to do. After this student`s continued making their tiny houses with many students finishing and many students making progress with their 3D furniture. Students were encouraged to add sustainable elements to their house and many of them decided to include solar panels and rain collecting water tanks to their final design. Students that had finished started working on creating the environment that everyone could place their tiny houses in.
年末年始休暇が終わり、子供たちはBobby先生のお友達と話したことを思い出しながら、今まで学んできたことを復習しました。このあともTiny Houseづくりは続き、ほとんどの子が3D家具の製作にも進んでいました。
子供たちは、自分たちのTiny Houseにサステイナブルな要素を加えるよう話してもらったので、多くの子がソーラーパネルや雨水を集めるタンクをデザインに加えることに決めました。終わった子から、自分たちのTiny Houseを置くための街づくりの作業を始めました。

Week 6
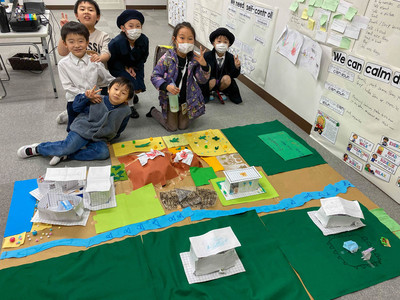
Students who had not finished their tiny house kept working on their individual project while those that had finished continued to make a large environment out of card, felt, tape, glue, coloured paper etc. Those students that were still working on their tiny house had the opportunity to share their ideas with those making the environment so everyone had a chance to contribute. Students had decided to create mountains, desserts, a river and a lake and were thinking as a group about what they could add the following week.
まだ自分のTiny Houseを完成させていない子はその続きを、完成させた子たちは街づくりに取り組みました。カード、フェルト、テープ、のり、色紙などさまざまな材料を使いました。家づくりと街づくりに分かれていても、お互いのアイディアや考えを共有する時間を作ったので、クラス全体で作品作りに取り組むことができました。子供たちは、山、砂漠、川、湖を作ることを決め、来週何を追加できるか考えていました。
Week 7
This week those who had not finished their tiny houses finished and joined the other students working together on creating the environment. Because a lot of the large design elements of the environment had been completed there was more chance to focus on smaller ideas and add details such as trees, plants, animals, and a farm that they could get creative making with a variety of materials. The students worked really well as a team and agreed everything with majority decisions.
今週はクラス全体で街づくりをすることができました。メインとなるデザインは完成していたので、より小さなアイデアに焦点をあて、木や植物、動物、農場など、さまざまな材料を使って創造的に作ることができました。子供たちはグループで本当に良く作業し、多数決ですべてに合意しながら活動することができました。
Week 8
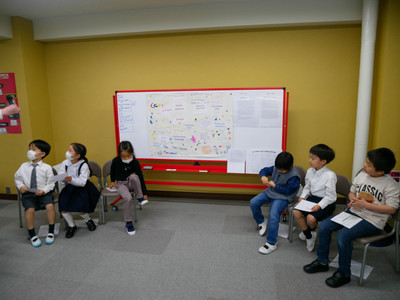
Students had a little time to finish up things they wanted to work on before reviewing what we had studied over 8 weeks and preparing for the presentation where they pulled everything together they had been working on. Students got the chance to place their tiny house on the environment they created as a class and explain their reasons for their choice.
子供たちは、8週間かけて勉強してきたことを復習し、これまでに取り組んできたことをまとめて発表する準備をする前に、制作物を仕上げるための時間を少し持ちました。そしてプレゼンテーションでは、自分たちが製作したTiny Houseを紹介し、クラスで作った街の上に自分たちのTiny Houseを置き、なぜそこに家を建てたいのかその理由を説明したり、街づくりの中で工夫したことなどを発表しました。
Author Profile
-
-
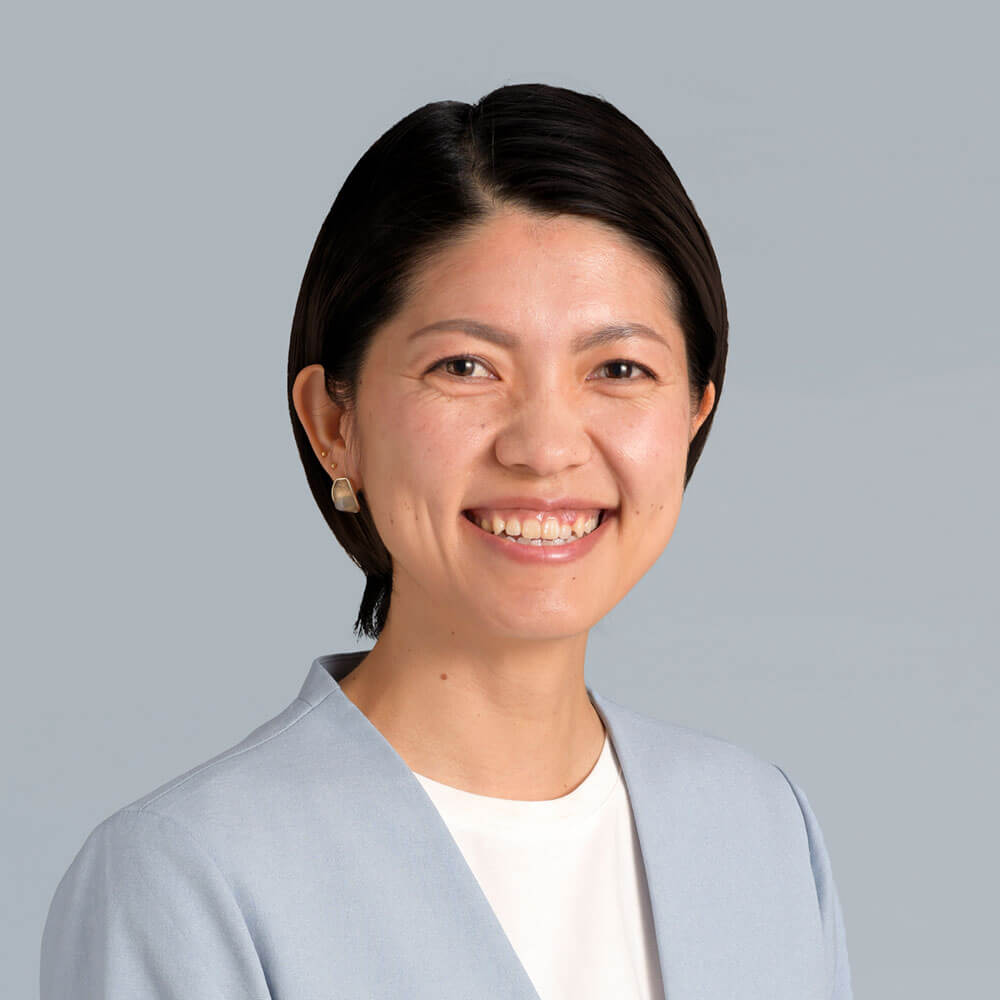
Saeda Sueki-Au-Yeung - Head of Operations / Parent Support Coordinator (Japan)
Head of Operations / Parent Support Coordinator at CGK International School.
During her university years, she studied in the United States on a soccer scholarship for four years and won a national championship with her team.
After gaining experience in childcare and management at CGK Preschool and CGK Afterschool, she moved into a school-wide operations role at CGK International School.